Elasticsearchにeclogを追加
https://www.elastic.co/guide/en/elasticsearch/reference/current/install-elasticsearch.html
必要に応じて/etc/elasticsearch/elasticsaerch.ymlに以下を追加した.
ingest.geoip.downloader.enabled: false  # disable geoip download
xpack.security.enabled: false  # disable security plugin
cluster.routing.allocation.disk.threshold_enabled: false  # disable storage capacity check
必要に応じて /etc/kibana/kibana.yml を以下に編集した.
server.host: "0.0.0.0"
elasticsearch.hosts: ["http://localhost:9200"]
ハーバード大学のeclogをダウンロードしてeclog.csvとして保存する.
https://dataverse.harvard.edu/dataverse/eclog
30万行ごとにsplitコマンドでログを分割する.
split -l 300000 eclog.csv
Fluentdをインストールする.
https://docs.fluentd.org/installation
Fluentdの設定ファイル /etc/td-agent.conf を作成する.
<source>
  @type tail
  path /home/ono/eclog/*.log
  # path /home/ono/eclog/xem.log
  pos_file /tmp/ono.pos
  tag nginx.access
  <parse>
    @type tsv
    keys IpId,UserId,TimeStamp,HttpMethod,Uri,HttpVersion,ResponseCode,Bytes,Referrer,UserAgent
  </parse>
</source>

<match nginx.access>
  # @type stdout
  @type elasticsearch
  host localhost
  port 9200
  index_name koyama
</match>
Fluentdを起動する.
sudo systemctl restart td-agent
以下の convert.py を使い,CSV形式のログ・ファイルから,タイムスタンプの形式を変更したTSV形式のログファイルを生成する.
import csv
import datetime
import glob

def convert_utc(log_file):
    log_buffer = []
    # IpId,UserId,TimeStamp,HttpMethod,Uri,HttpVersion,ResponseCode,Bytes,Referrer,UserAgent
    with open(log_file) as f:
        reader = csv.reader(f)
        for data in reader:
            try:
                raw_time_stamp = int(data[2])
                delta = datetime.timedelta(microseconds=raw_time_stamp // 10)
                base = datetime.datetime(year=1, month=1, day=1, tzinfo=datetime.timezone.utc)
                t = base + delta
                data[2] = t.strftime("%Y/%m/%d %H:%M:%S")
                tsv = "\t".join(data)
                log_buffer.append(tsv + "\n")
                # print(log_buffer)
                # break
            except Exception as e:
                print(e)
                print(data)
                continue
    with open(log_file + ".log", mode="w") as f:
        f.writelines(log_buffer)

file_list = glob.glob("x??")
# print(file_list)
for file_name in file_list:
    convert_utc(file_name)
生成されたファイル一覧の例
xaf.log xam.log xat.log xba.log
生成されたファイルの中身の例(TSV形式)
8153PL  -   2019/12/05 22:06:27 GET /images/mini/100px_image5802.jpg    HTTP/1.1    200 10450   https://shop.our-internet-company.pl/   Mozilla/5.0 (Windows NT 6.1; Win64; x64; rv:70.0) Gecko/20100101 Firefox/70.0
8153PL  -   2019/12/05 22:06:28 GET /images/mini/100px_image1498.jpg    HTTP/1.1    200 12378   https://shop.our-internet-company.pl/   Mozilla/5.0 (Windows NT 6.1; Win64; x64; rv:70.0) Gecko/20100101 Firefox/70.0
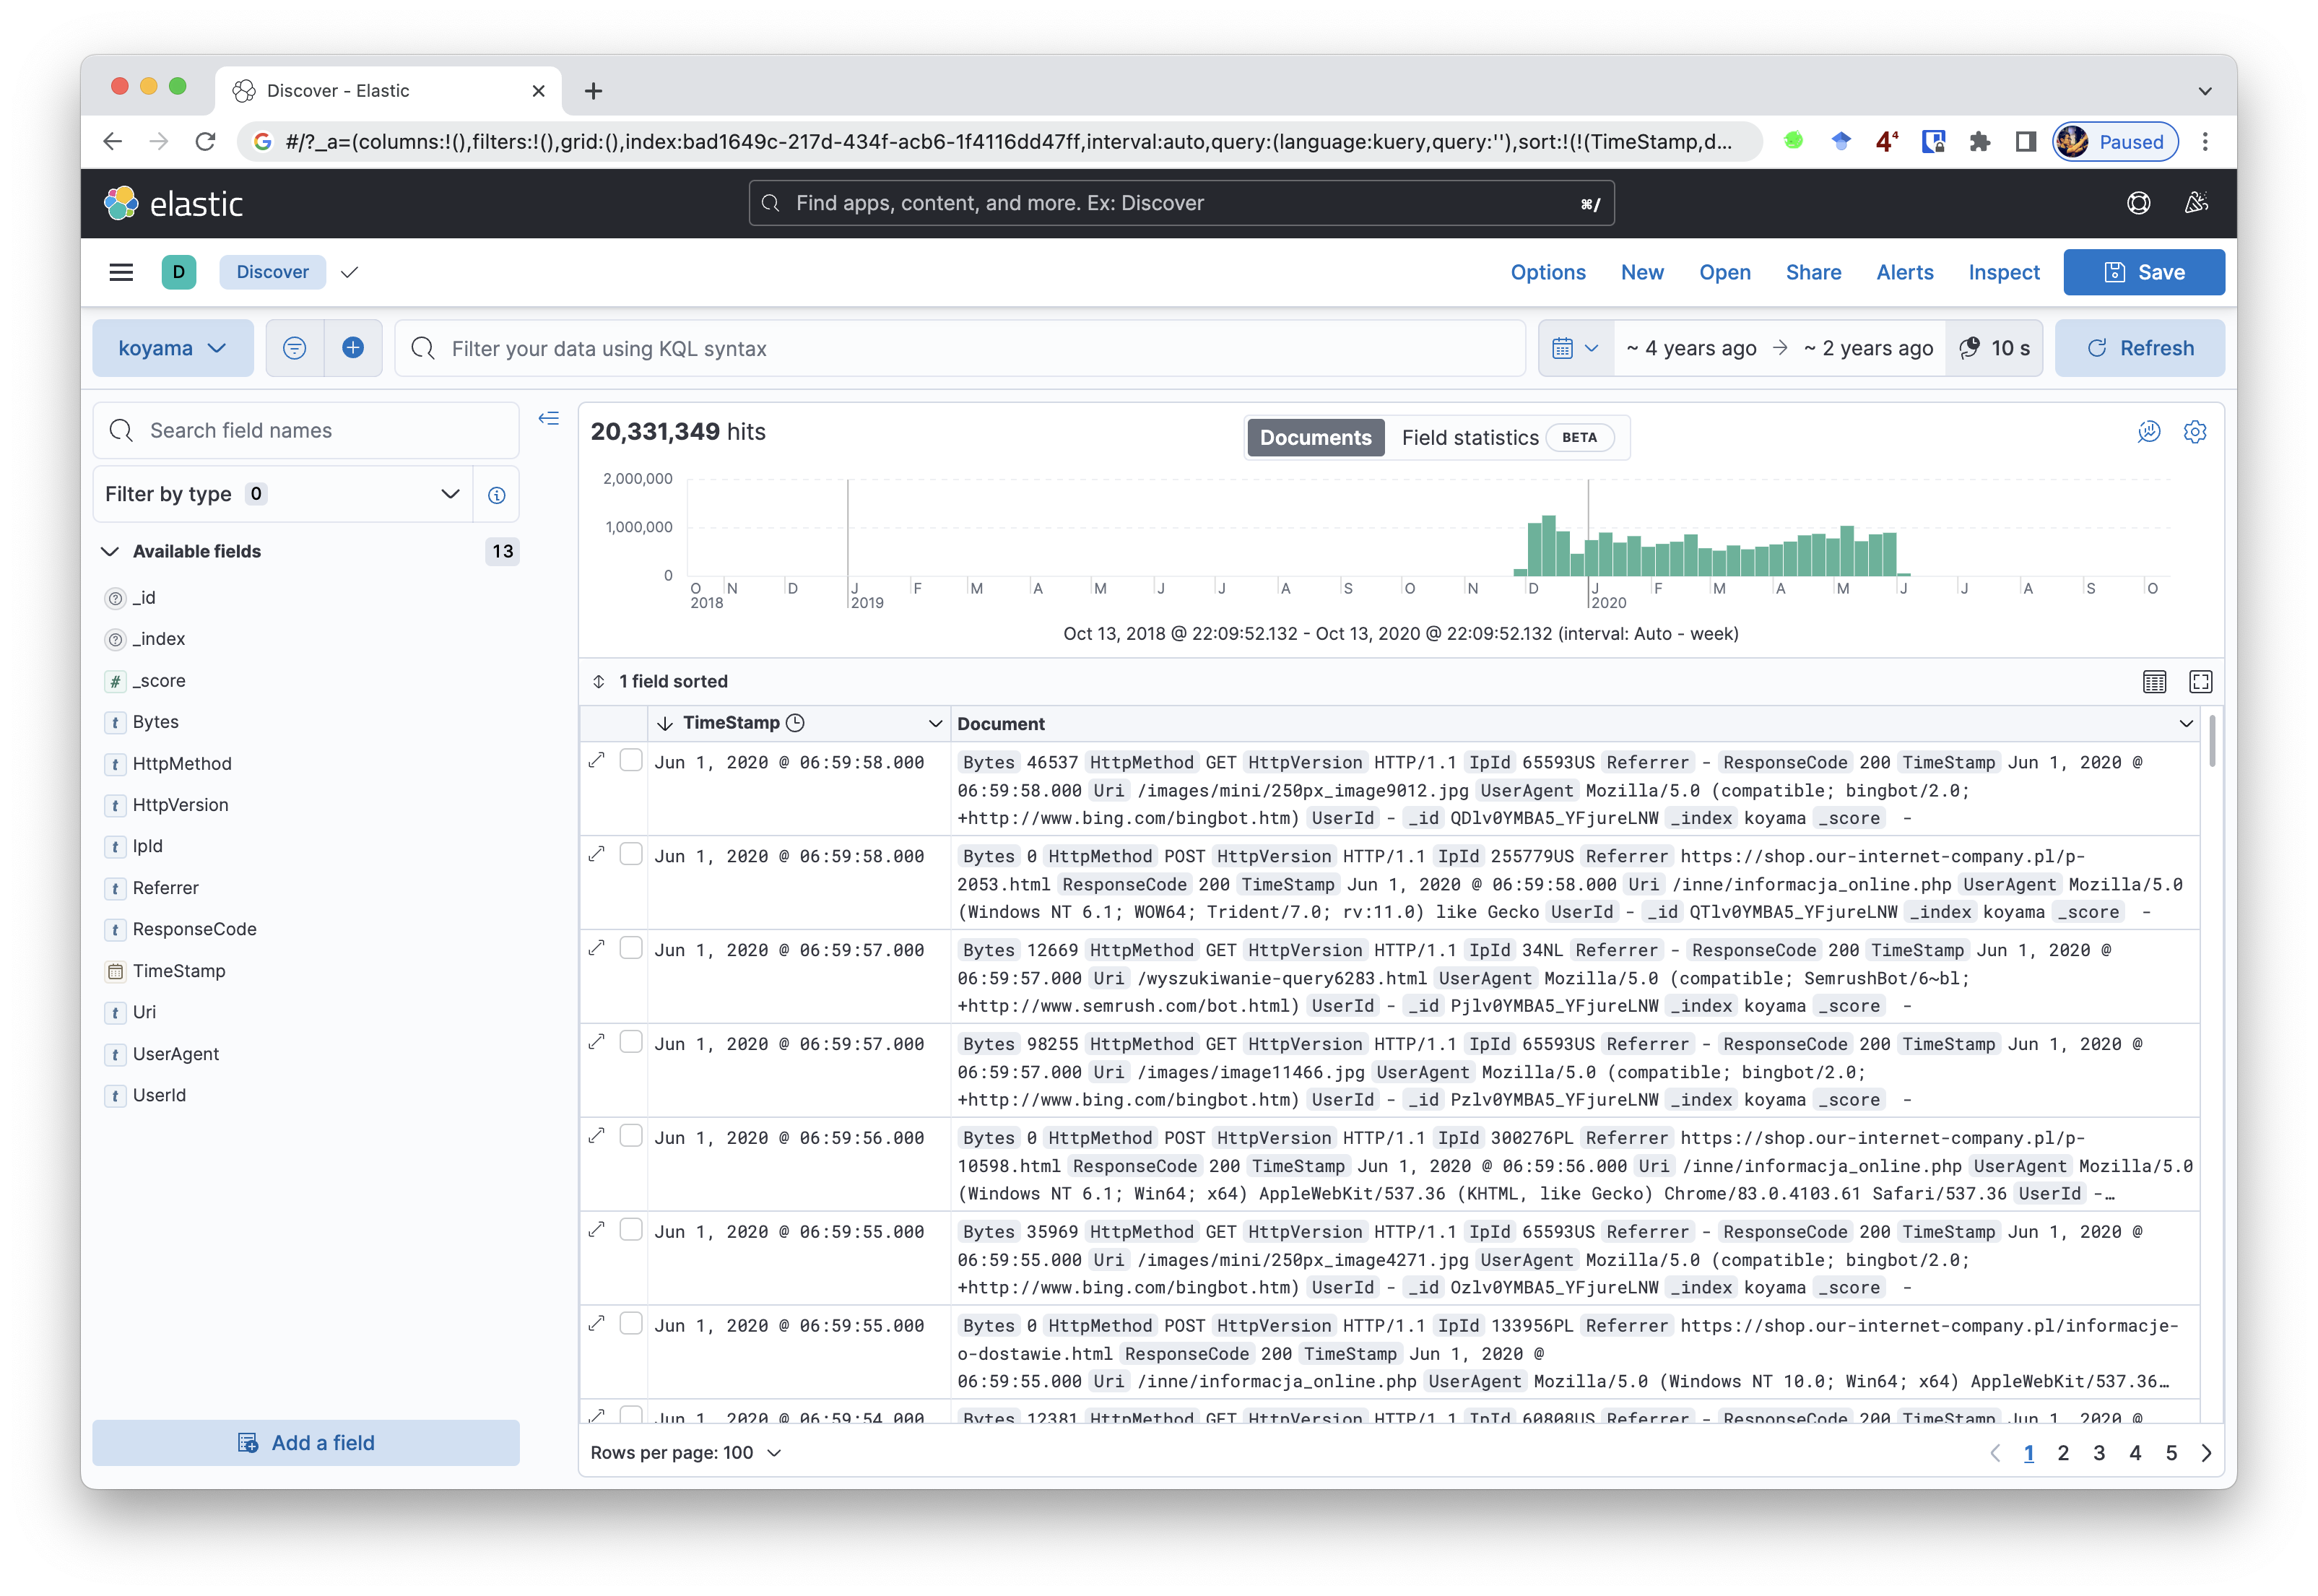
Kibanaにアクセスする.Kibana Index Patternの設定を行うと以下が表示される.